Sabi Urushi & Kokuso
– Kintsugi
Content status: Researched but untested. For my previous projects, I’ve lost the recipe I used.
Filling in the gaps
Sabi Urushi (錆漆) translates to rust lacquer. It’s a mixture of raw urushi, tonoko powder, and water used to fill small chips or even sculpt new fragments for your repair. Compared to Mugi-Urushi, the previous step, Sabi Urushi is less of a glue and more of a putty.
Break tonoko powder lumps with a spoon before adding water.[^1] Cure for 1 week. Trim with a razor blade.
Tokyu Hands uses a tonoko, water, urushi ratio of 1:1:1. They dry for 4-5 days before sanding with a whetstone.[^2] Wipe with a damp cloth and let it dry overnight before painting.
Sabi urushi is the base of lacquer ware. Could take 4-5 times to fill in a large chip. Use sandpaper.[^3]
Kintsugi Oxford uses a ratio of wet tonoko to urushi at 1:1.2. Pieces were prepared by adding raw urushi to the cracks. Use wet sandpaper, then repeat.[^4] I tried this method for my first attempt and I found that the wet sandpaper removed nearly all of the sabi urushi. For larger chips, kokuso (こくそ漆) is recommended. It’s similar to sabi urushi, but with the addition of sawdust. Recipes vary, with some even mixing mugi urushi with tonoko and sawdust for strength.[^5] Both sabi urushi and kokuso require multiple layers, with curing and sanding between each one.
Let’s Kintsugi uses jinoko (地粉), tonoko (砥粉), and raw urushi in a 1:1:1 ratio for sabi urushi.[^5] While kokuso was shaved with a razor and sanded with sandpaper, the sabi urushi is polished with a whetstone after a 1 day cure. I imagine this makes for a more delicate sanding to make sure the sabi urushi doesn’t chip off.
David Pike uses jinoko, water, and urushi to make sabi urushi.[^6] Pike recommends jinoko because it has higher compressive strength than tonoko, although tonoko is more widely used.

I bought tonoko powder because it was cheaper.
Kintsugi Library uses tonoko, water, and raw urushi. First, break up the tonoko powder and squish all lumps. Add equal amount of water. Then add urushi to paste at a ratio of 7:10. This video uses masking tape to contain the application, and has a series of arrows explaining the best direction to ensure maximum crack & chip filling. There is no urushi pre-layer on the chipped area—this was only necessary for the previous mugi urushi step.
Instead of a razor blade, I’ve started using a q-tip or my fingernail on a test sample on a tofu box that I leave in the muro alongside the piece.
After curing, check by scraping a little bit with a razor blade. If it rubs off, leave for another 2-3 days.[^8] After cleaning with a razor blade, use 1000 grit sandpaper in 1cm pieces combined with a whetstone to get all the extra sabi urushi off. I imagine these materials help with the removal since the bowl here is an unfinished, gritty surface.
The masking tape application at 11:20 is freaking me out. It’s so cool! Before applying a second layer of sabi urushi, put washi tape all around the crack so you can go wild with the application and have less cleanup later. And it’s more precise. Cured for 2 days.
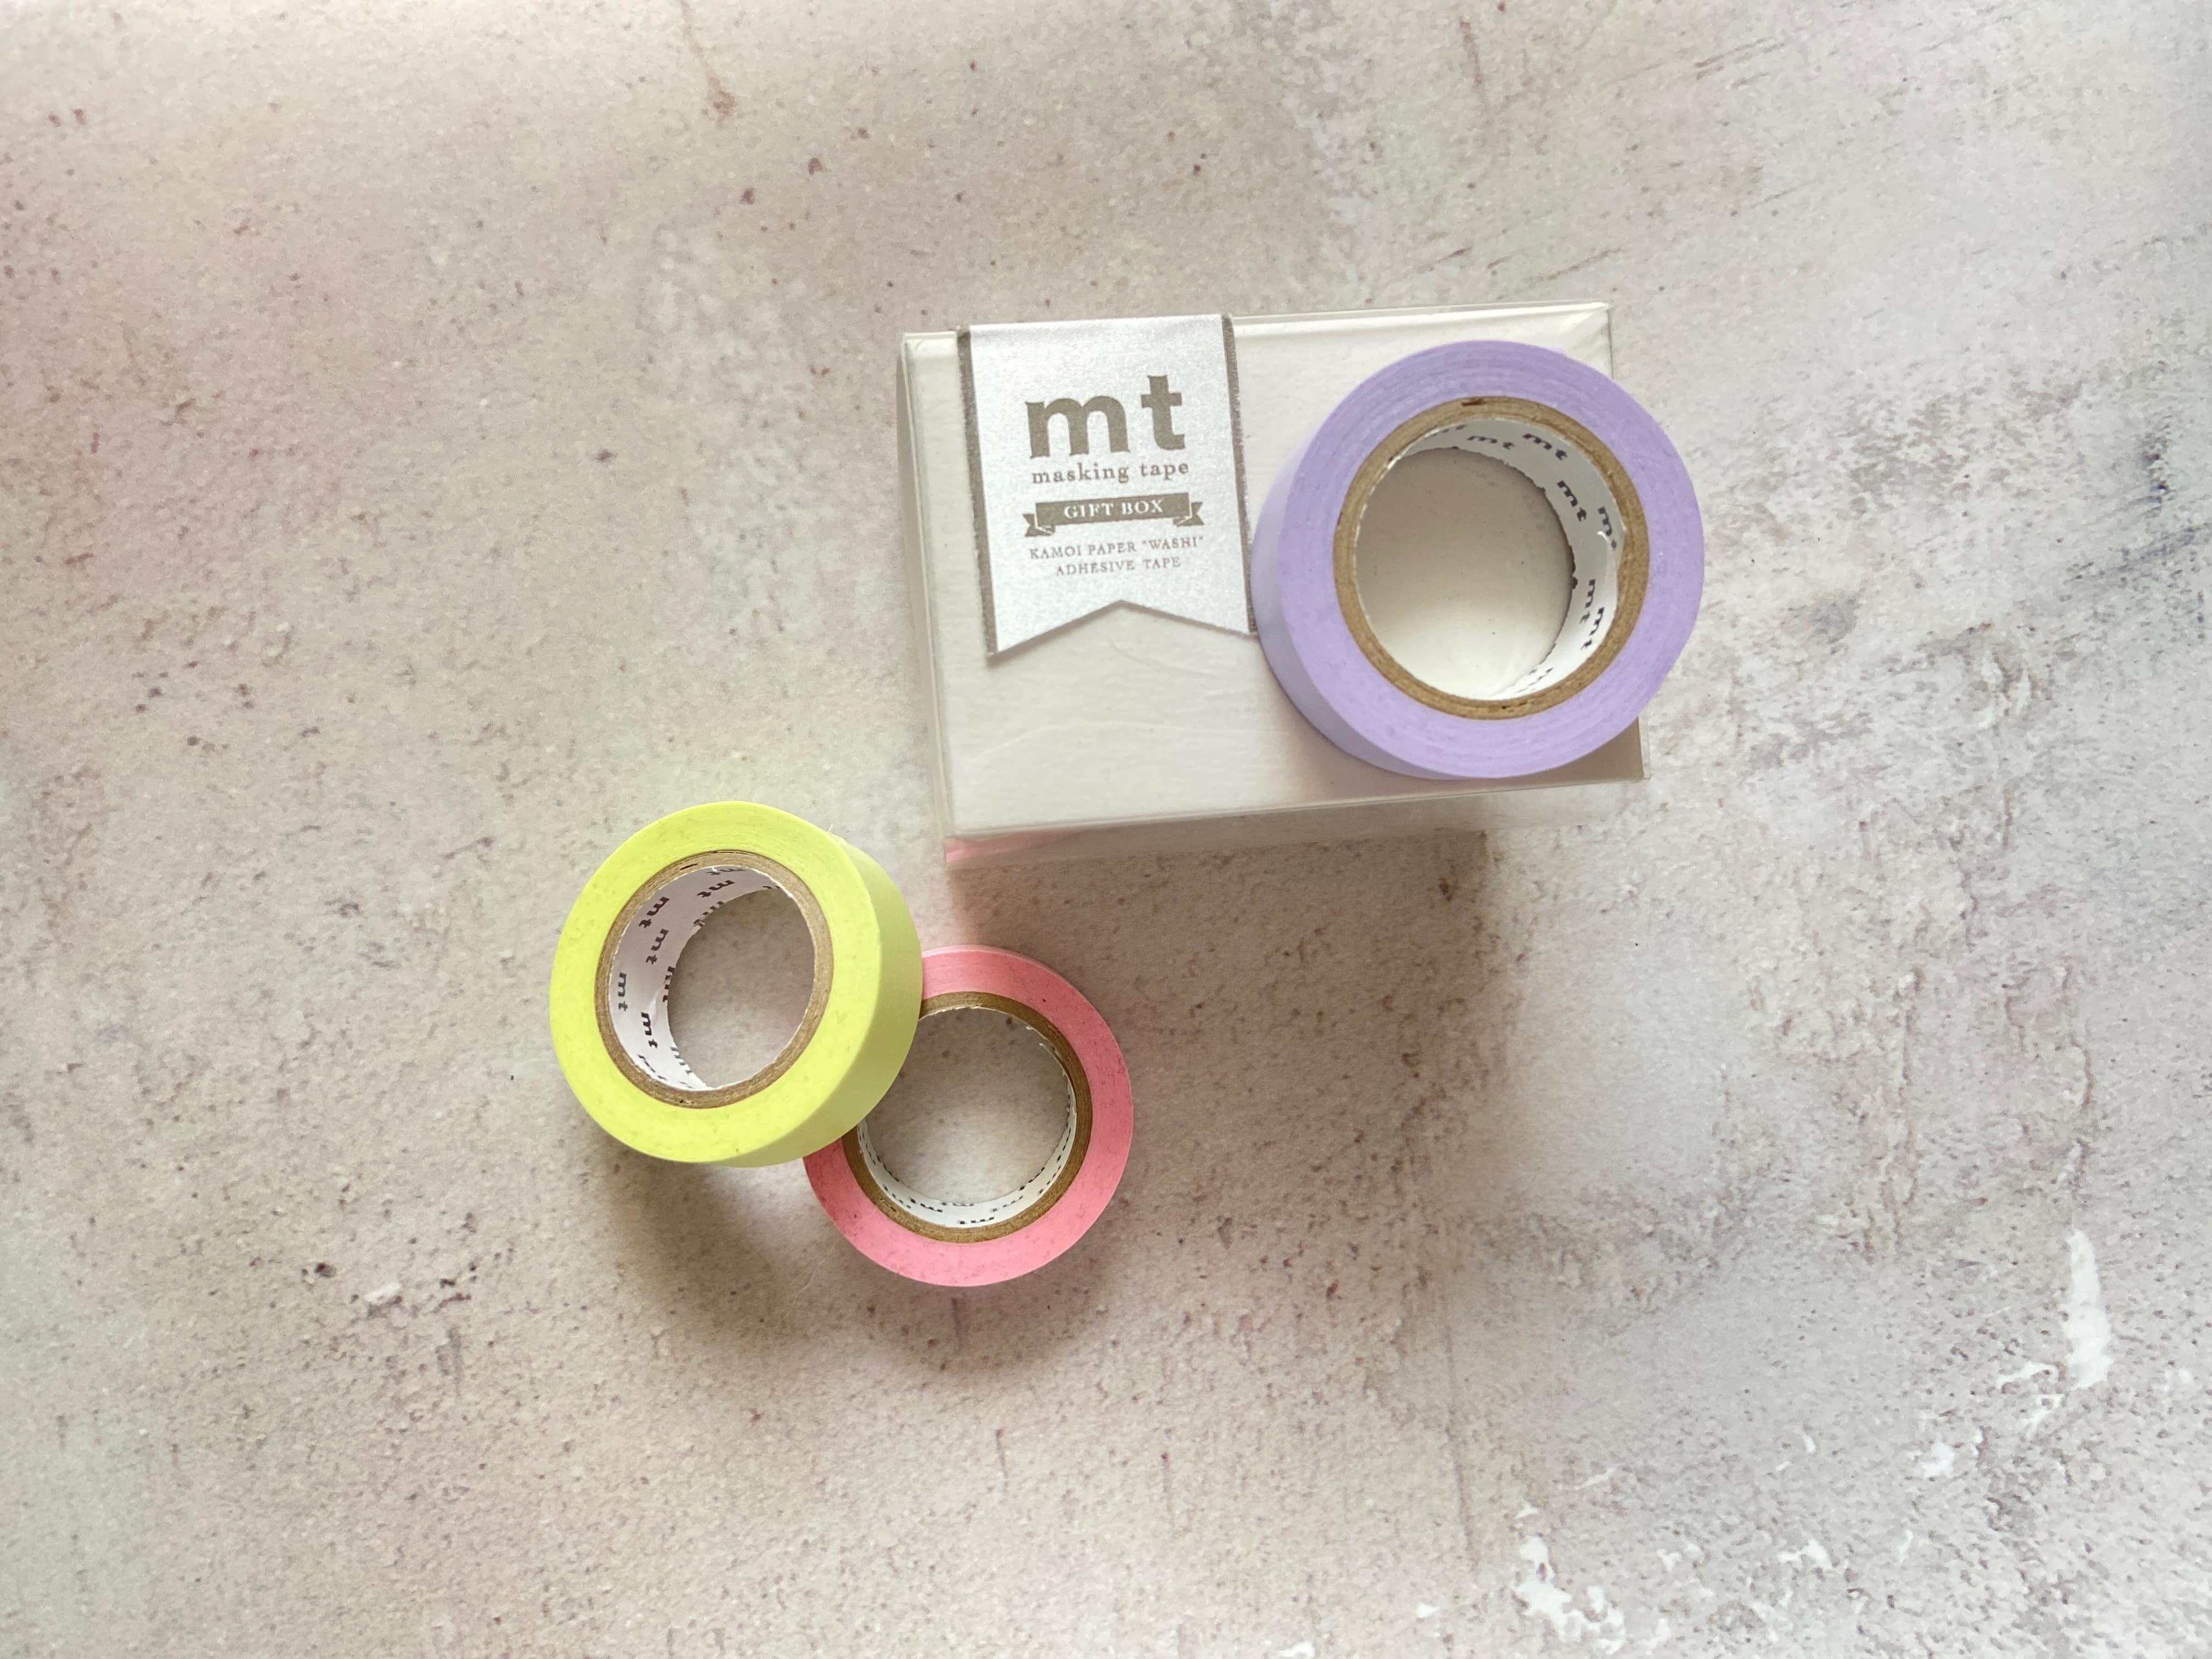
I’m using washi tape instead of masking tape.
Watching this animation of razor blade technique makes me think I should get one. Is plain sandpaper not enough?
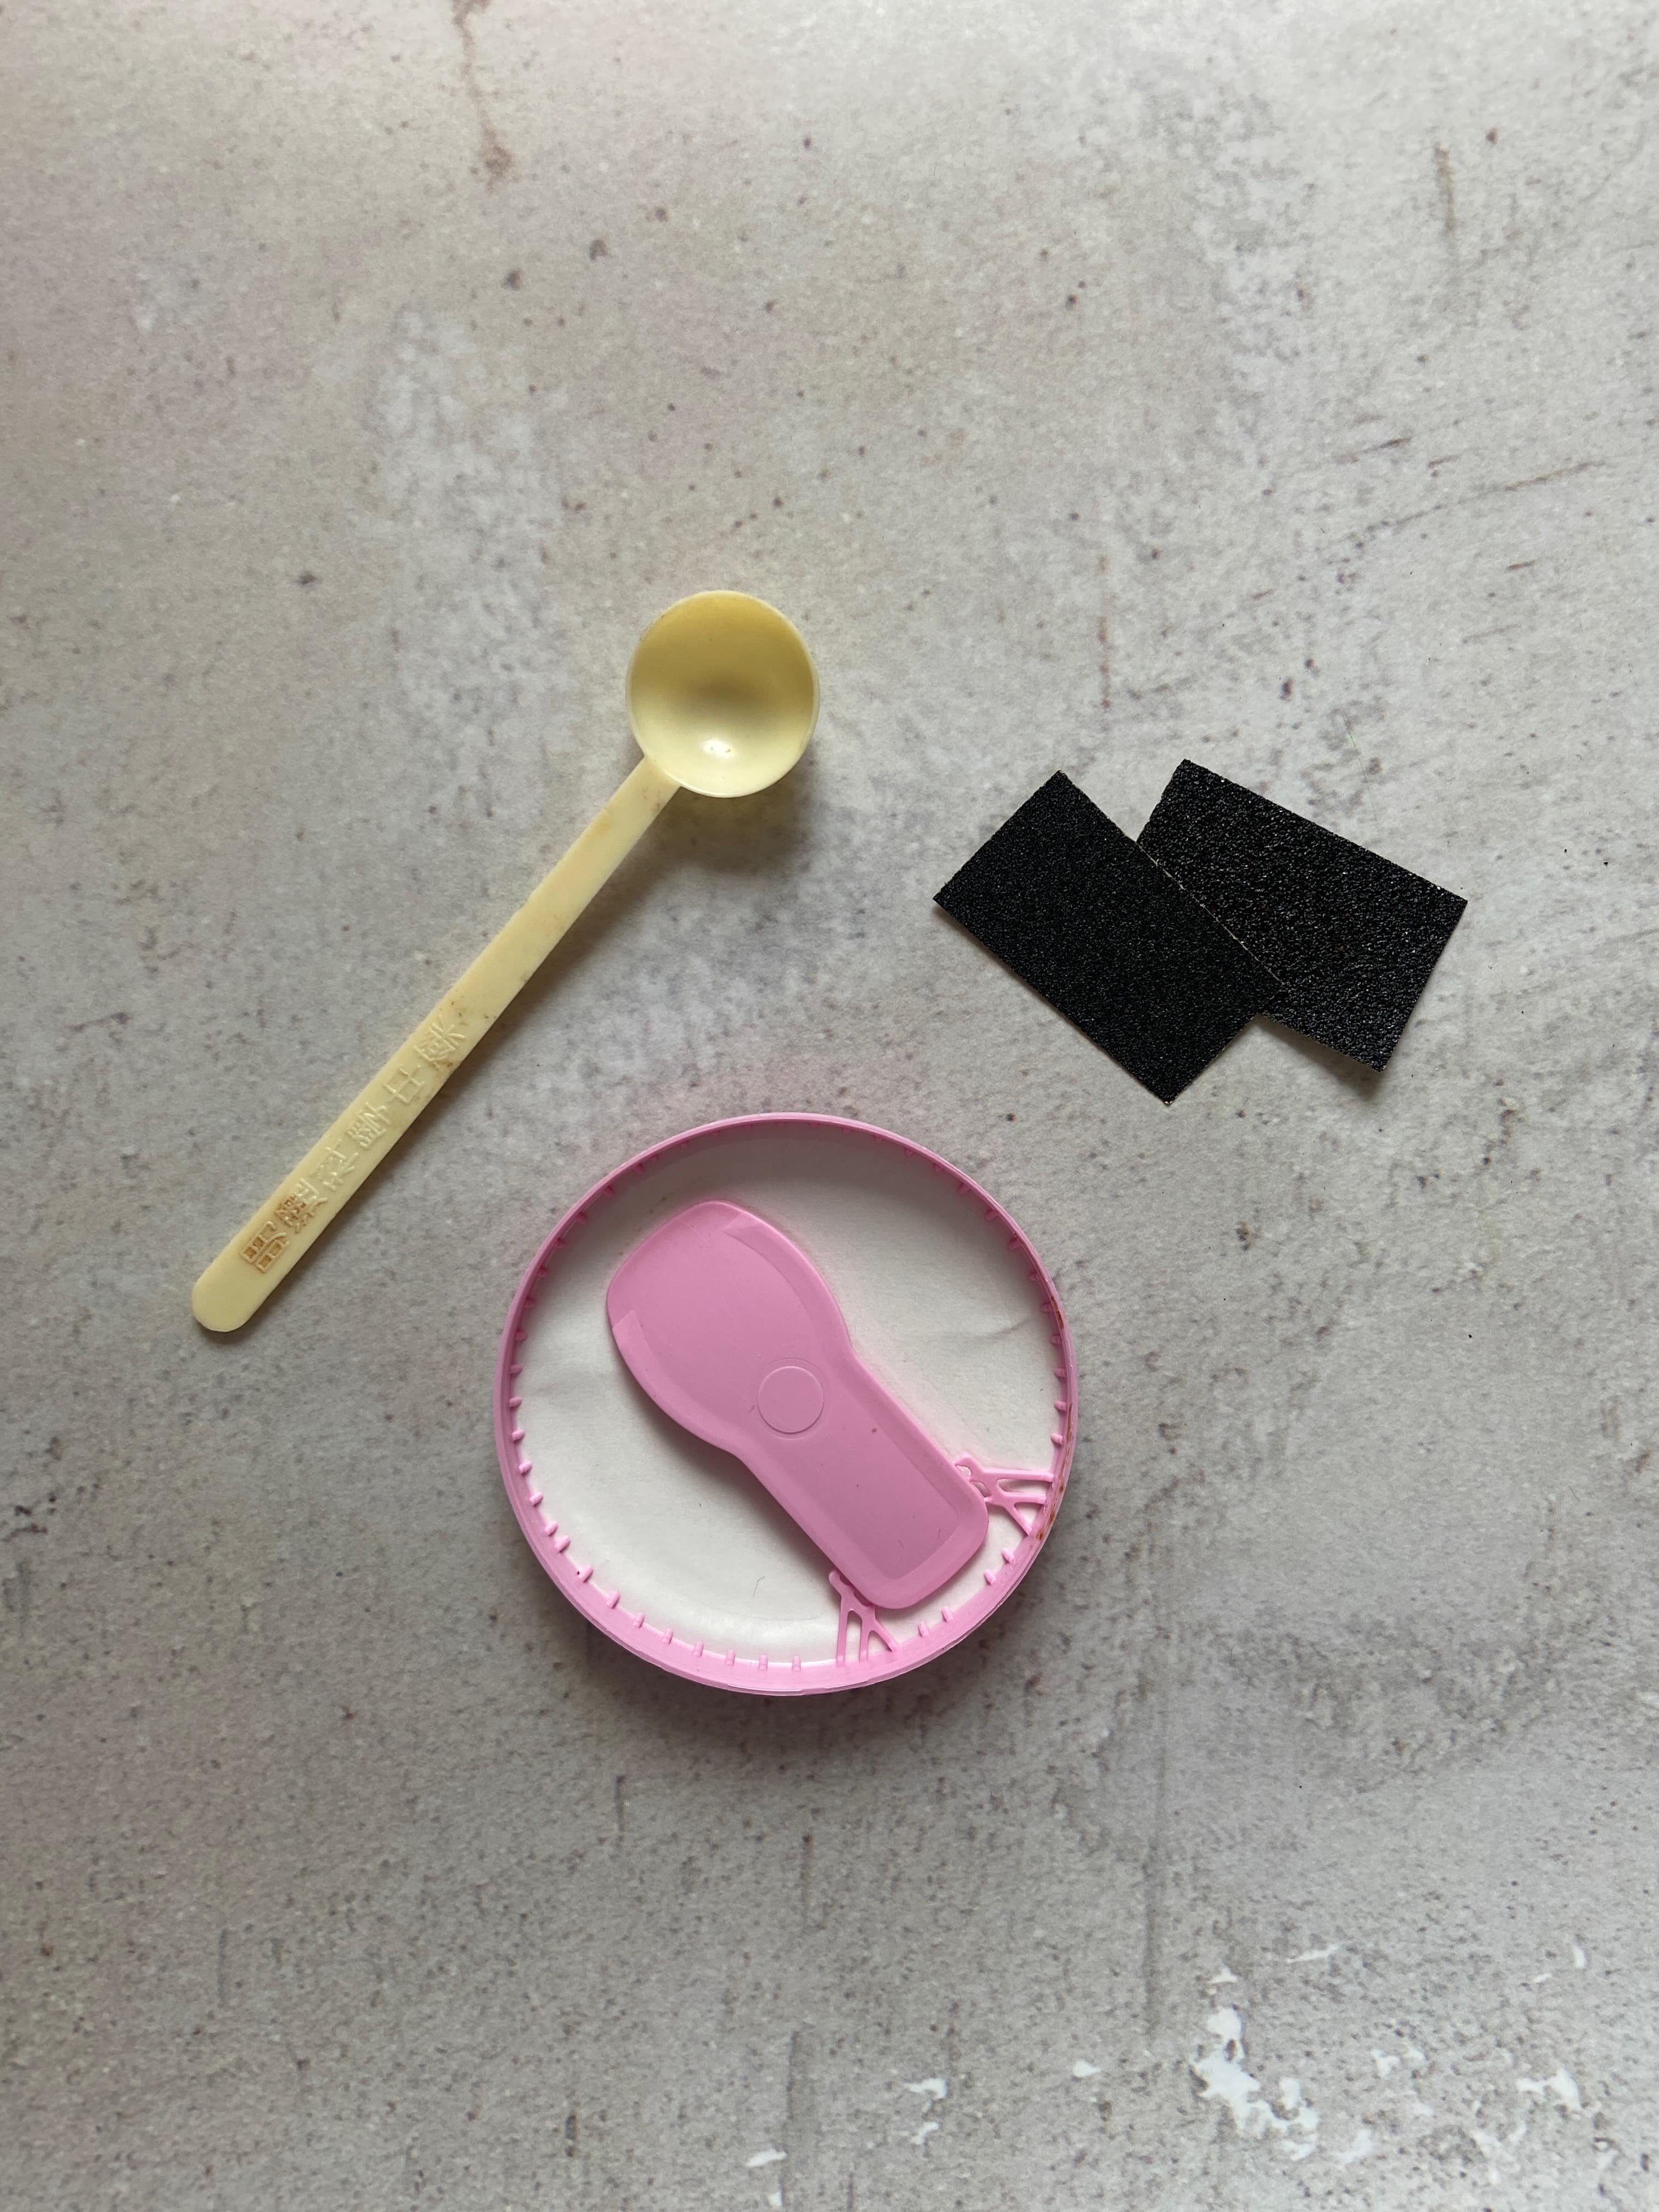
These are my found objects used for applying material and sanding it down after curing.
Do not skip this step

No matter how small your crack is, you should always fill in the crack with sabi urushi before moving on to Painting Urushi Lacquer. Let this example be a cautionary tale for you! Now I have to start over 😭
Sources
- Urushi Central Youtube (EN)
- Tokyu Hands (JP)
- Kintunagi (JP)
- Kintsugi Oxford (EN)
- Let’s Kintsugi Youtube (JP/EN)
- Kintugi FAQ by David Pike (EN)
- Kintsugi Library Youtube #2 (JP)
- Kintsugi Library Youtube #3 (JP)
Disclaimer
I am not fluent in Japanese. Any and all translations may be flawed. I’m just stumbling through these resources, tracing kanji into Google Translate, and using a dictionary app to supplement my rough understanding of the language. Forgive me for any mistakes. Thank you for reading!